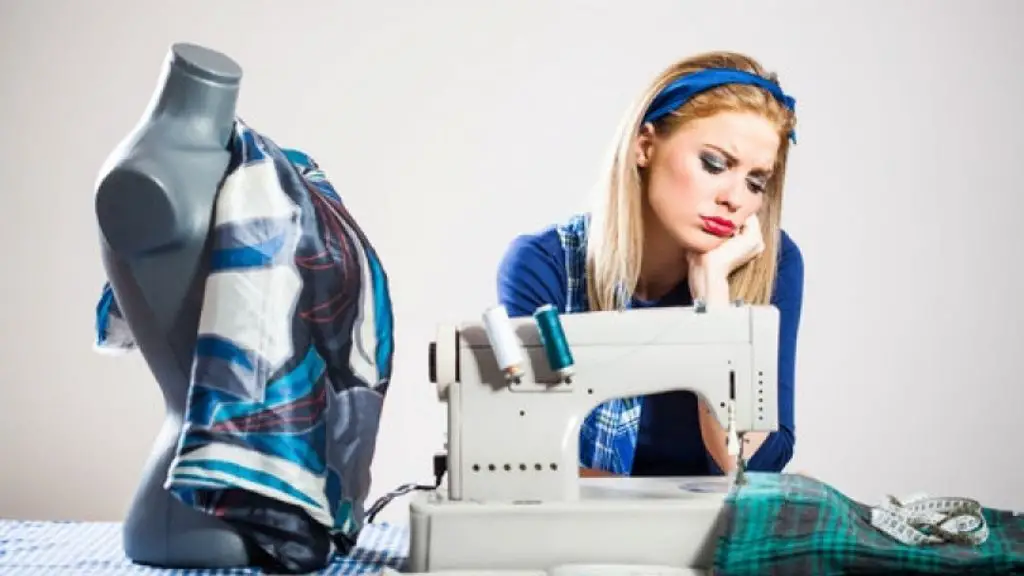
A sewing machine jams when the machine is locked up and the pedals and needles get stiff. This leads to you being unable to use the machine. Of course, it is quite logical that you want to know the causes of the jam and how you can resolve it.
Many things could cause your sewing machine to jam and some of them include incorrect threading, broken or dirty needles, poor lubrication, foreign objects in the feed dog, dirty machine, etc.
All of these will be discussed in detail and we’ll look at the solutions for all of them. Also, we’ll discuss some habits you should develop to avoid any problems with using your machine.
Why Sewing Machine Jams
For someone new to the world of sewing, it might seem overwhelming to be in a situation where your machine refuses to move. This is known as a jam and there are multiple causes of the phenomenon.
There are so many possible causes that almost any misstep in using a sewing machine can lead to jams while you are using it. Some of these missteps are:
Poor Lubrication
This is one of the most common causes of sewing machines jamming. It is often advised that you should apply lubricants to your sewing machine regularly. The absence of this lubrication can lead to a situation of jam where the Sewing machine is stuck and can hardly move. If you hadn’t lubricated your sewing machine in a long time, you might start experiencing these jams frequently.
The feed dogs are low or dirty
The feed dogs are responsible for the movement of fabric through the sewing machine. They move in a back and forth motion but can cause problems if they are stuck. The main cause of feed dog issues is foreign objects like lint getting in the feed dog and jamming it up. Also, the feed dog itself could have hardware problems which again could be the cause of your sewing machine jamming. Lastly, if the feed dogs are lowered for some reason while stitching, the fabric could get “eaten” by the machine and lead to jamming.
You are using the wrong needle
The type of needle that works best with every type of fabric differs a lot. Some fabrics require bigger and longer needles while some require smaller ones. If you use small needles for a project that requires bigger ones, the needle will hardly move through the fabric. This might lead to a jam.
The needle is damaged
This is similar to the previous point. A Needle that is even slightly damaged can get stuck in the presser foot or the fabric itself. Again, this leads to the feeling of jamming which might even be worse than in the previous case. After all, a broken needle Stuck in the needle compartment can even cause serious problems to your sewing machine.
The upper threading isn’t properly done
If you do not thread your machine properly, you might get into a situation where the thread is tangled up. This eventually leads to the machine getting stuck and unable to move.
Inaccurate tension in upper threading
If the tension in the upper thread is not enough to pull the thread through the fabric, it can cause the fabric to bunch up and ham the machine. This is due to wrong tension settings or inaccurate threading. Also, if the tension is too high, the thread can snap and break which can again lead to a jam.
The bobbin threading is wrong
Asides from the upper threading, incorrect threading in the bobbin section can lead to your sewing machine jamming. This is even worse than in the latter case because the threads will just become tangled up in the bobbin section and it will be a mess to remove.
The thread quality is poor
If the thread itself is of subpar quality, even the best threading techniques will be unable to save it from acting up in the machine. It will have the same final result of the thread tangling up in the underside of the machine and leading to a jam.
The machine is dirty
Dirt in certain parts of the sewing machine can lead to jams. It is why cleaning your machine regularly is always advised. For parts like the needle plate and bobbin especially, the presence of foreign objects derails the movement of the sewing machine.
Presser foot was not properly installed
Whenever you are sewing, the presser foot is responsible for holding the fabric in place. If the presser foot isn’t in its proper place due to the wrong installation, the fabric might shift and get caught in the machine. This will lead to a situation of jam where the machine won’t work till you remove the fabric and properly install the presser foot.
The trailing thread is too short
Oftentimes, we use trailing thread to create outlines while sewing. However, if the thread is too short, the machine could jam up after a few stitches because the trailing thread would be used up.
Software issues
This worry is for users of computerized sewing machines. As no software is free from bugs, a bug could lead to your sewing machine jamming incessantly.
Wrong stitch length
If you set the stitch length too low, the fabric might get bunched up while stitching and get stuck in the machine. This will again lead to a jam and could both ruin the fabric and parts of the machine if you are not careful in handling it.
Other settings issues
Many sewing machines have many fancy settings that make sewing easier. However, these could turn out to be an issue if you don’t know how to properly use these settings.
The machine has hardware Issues
Last but quite significant is the terrifying possibility that your machine has developed some hardware problem. This would only be a diagnosis when you have ruled out every other possible option. It is the worst of all and will need the help of a professional to be even properly diagnosed and fixed.
All these are the causes of your machine jamming. Most of them are minor and can be easily resolved with the right know-how. However, there are some that you can’t resolve by yourself and you’ll need professional help for those. In the next section, we will discuss how you can fix those that are within your powers to fix.
How To Fix Sewing Machine Jamming
Knowing the causes of sewing machine jamming, it is easy to proffer solutions. However, there is still the issue of how to know the exact cause of the problem. This is done by following a troubleshooting guide and solving possible problems along.
As you can’t tell what the exact cause is yet, follow these steps till you find the cause and finally resolve it.
Check moving parts for lubrication and apply oil if need be
As one of the most basic causes of a jamming sewing machine is lack of lubrication, check all the moving parts of the machine that you normally apply lubrication to. Check if there are any issues with any of them and apply lubrication to any part that seems unusually stiff. If it has been long since you last applied lubrication, just use the opportunity to do so. Remember that you should use sewing machine oil made for that purpose. Adopting other types of lubrication could work but it is best to stick to sewing machine oil as it will give you the best results.
Fix the feed dogs
With the machine running, check to see if the feed dogs move as they should. If they don’t, check for any foreign objects that are causing the feed dog to be stuck in one place.
Change tension settings
If you detect an unusually high or low tension in the thread, use the tension dial to change the tension to a more fitting value. If you are not sure what the best tension should be, check the machine’s manual or check online for advice.
Clean the machine
If it has been a long time since you last cleaned the machine, chances are that there are foreign objects in some parts of the machine. Check all parts like the feed dogs, bobbin, and presser foot for any dirt or leftovers from previous projects. Clean out any such objects detected and try to work the machine again.
Check that all settings are as they should be
If your sewing machine requires making other settings asides from tension and stitch length, check to confirm that these settings haven’t been tampered with. If they have been, change them back to the proper values.
Inspect your needle and change if need be
Another of the first things you should do is carefully check if the needle is not broken, bent, or damaged in any other way. If it is, carefully raise the presser foot and change the needle. To avoid more of the same issues, ensure that the new needle is spotlessly clean and not in any way defected.
Check the needle compatibility with the fabric
As said earlier, using a type of needle that isn’t compatible with a kind of fabric can lead to a jam. If your machine is jammed and you are not sure about this needle compatibility, check online. If you discover that they are not compatible, change the needle immediately. Also, always remember to change to the best needle before you start any stitching.
Rethread
Open the bobbin cover and see if the thread is still as it should be. If you find the thread tangled up, remove everything and rethread the machine. Even if it is only the bobbin or upper threading that got tangled up, remove the thread in both parts and rethread. This time around check your machine’s manual again and meticulously follow the steps laid out there for threading. Again, if you are not sure you should find someone who can guide you through the process better. In this, sewing forums can prove quite useful. After the threading is done, ensure that you place the bobbin case back properly. While doing all this, you could also solve the possible issue of a short trailing thread. Pull the bobbin thread over the faceplate and leave it some inches behind. Also, ensure that you leave the sufficient thread to prevent it from being pulled down as this could also lead to a jam.
Check your thread and change it if need be
Your thread getting tangled up doesn’t always mean you did the threading wrong. Sometimes, it is the thread that is just bad. If you just changed the thread and the previous thread didn’t encounter any jam, check a sample of the threads you were using previously and compare it to the one you’re currently using. If you notice any obvious differences in quality, change the thread. Even if you don’t notice any such thing if the machine continues jamming when you use the thread you should change it.
Fix the software
If your sewing machine is computerized and you can’t seem to find any other causes of your sewing machine jamming, check the software for updates. If there is an update available download and install it as this could be the simple solution. Also, you could try resetting the machine to factory settings. You will find the way to do this in your manual. Although you might lose data on the machine in the process, it might be a last resort and you should give it a shot if all else fails.
Properly install the presser foot
After going through the preceding options, check if your presser foot is in its proper spot. Otherwise, check your sewing machine’s manual for instructions on how you can properly install it. If you don’t get it, you can contact customer support or ask someone who has more knowledge about your kind of machine.
If all the above do not work, there is probably a hardware problem with the machine. It is highly unlikely that you’ll be able to resolve this by yourself so you would need to request professional help. Rather than any run-of-the-mill technician, you should try to get the customer support of your machine’s manufacturer.
However, before paying for the machine to be repaired you should try one last resort of checking online for people that have faced similar issues. They have solutions for you that have somehow evaded us while putting this together.
Best Practices In Using Sewing Machines
To avoid any problems, there are certain habits you should have as regards your sewing machine. These habits, if done properly, will ensure that you don’t have to worry about things like jamming.
Lubricate regularly:
As your sewing machine has some moving parts, lack of lubrication can be quite harmful to those parts. You should apply grease or any other lubrication at intervals that will depend on how often you use the machine.
Clean the machine frequently:
As seen in the previous sections, a dirty sewing machine can be a recipe for disaster along the line. The best time to clean your machine was immediately after your last project. The next best time is now! Ensure that all obscure parts of the machine are rid of any unwanted objects. Also, clean the machine once in a while even if it’s unused to remove all traces of dust that could accumulate.
Always think about compatibility:
What does this mean? It means that you shouldn’t use sewing tools that aren’t compatible with your fabric or machine. Most significant is the type of needle you use on every fabric. As seen earlier, using a needle with a type of fabric that it is not compatible with could lead to issues.
Seek for servicing at intervals:
Every machine needs to be serviced every once in a while to keep it running optimally. Depending on how often you use your machine, you should consider getting a professional to help you check it once in a blue moon to ensure that there are no minor issues that could balloon up suddenly.
With all these, your sewing machine will run well enough most of the time. That being said, there is no foolproof guide as the sewing machine can develop a fault at any time. However, you can take the chances of this happening to the bare minimum.
Conclusion
It is quite common for owners of sewing machines to complain about their machine jamming. This jamming prevents you from working with the machine, and if you don’t know how to resolve it, can be quite frustrating. Numerous things could cause this issue and most of them are relatively trivial and you can resolve them by yourself. However, some will require professional help to get fixed.
To avoid all these problems in the long run, you should try to maintain your sewing machine properly and avoid anything that could lead to problems down the line.
I love to sew and write! I have been doing both for many years and enjoy sharing my passion with others. I have written for both online and offline publications including Amazon and Medium, and I enjoy sewing clothes, quilts, and other items.
My writing style is engaging and lively, and I have a knack for delivering complex information in a way that is easy for everyone to follow.
