From skipped stitches and damaged machine parts to crooked hems and broken needles, sewing velcro on a sewing machine can be a very frustrating experience. Several sewers find velcro very helpful; many people use it on children’s clothes because they are easier to remove than other fasteners. But even the most experienced tailors will agree that using a sewing machine to sew on velcro is not a walk in the park.
That’s why some tailors choose to hand-stitch velcro or avoid it altogether. However, if you want to use your sewing machine to sew velcro, you should follow the appropriate steps, and the whole thing will be a lot easier for you.
You’ll find all the information you need on how to sew on velcro strips with a sewing machine below:
- Choose the Correct Type of Velcro
- Use a Strong Machine Needle
- Change Your Thread to Match the Velcro
- Adjust the Tension Appropriately
- Test the Settings on Your Machine Before You Begin
- Get Very Thin Velcro to Make the Sewing Easier
- Place the Material Correctly
- Hold the Velcro Strips on the Fabric
- Lubricate the Machine needle
- Stitch in a Zig-Zag Fashion
- Trim Away the Excess
If you haven’t sewn velcro strips on fabric before, you can find it very difficult, mostly because of the nature of velcro strips. And even if you’re familiar with it, you may dislike having to sew it because of how hard it can be. But, you can find it a bit easier with the above method.
11 Steps To Sewing On Velcro Strips With Sewing Machine
To sew on Velcro strips with your sewing machine, you should always understand the specific kind of Velcro required for the project at hand. Also, you should always balance your Velcro firmly in place to avoid raggedy-looking stitches. Then, follow these steps for the best results:
1. Choose the Correct Type of Velcro
The first thing you have to do so that attaching velcro strips to a piece of clothing isn’t so difficult for you is you should choose the velcro designed for the sewing machine. Velcro is also called hook and loop tape, and several kinds of velcro tapes are available in stores. However, not all of the available hook and loop tapes are meant for sewing machine use.
Always avoid the velcro that has adhesive or glue on it. It is especially difficult to sew as the machine needle keeps getting cut because of the thick adhesive. It will also cause the thread to break and generally make sewing very difficult. Also, don’t use tough and stiff velcro strips. These aren’t only difficult to sew, but they’re also uncomfortable on the skin.
Instead, buy soft and adhesive-free velcro strips; these are also thinner, which means that it’s easier to sew them, expand with the materials, and are comfortable on the wearer’s skin.
2. Use a Strong Machine Needle
Before you start sewing, you must ensure that the machine needle is sturdy. If you use a regular machine needle, it will cut and may even injure you. Velcro strips are very tough as they’re made with plastic, so you will need to get a stronger needle to avoid annoying sewing complications like skipped stitches and broken machine needles. Your best bet is a denim needle because those are a lot stronger.
So, when you’ve finished sewing other things and are ready to sew velcro strips, make sure you change the sewing needle to a sturdier one, preferably a denim needle, before you begin to sew. If you are not sure which needle is sturdier, you can always make inquiries to be on the safe side.
3. Change Your Sewing Thread to Match the Velcro
In sewing, the color of the thread must match the fabric. So, the velcro strips must be the same color as the thread you’ll use to sew them onto the fabric. So, when you go shopping for the velcro strips, buy the right color of sewing machine thread as well. Also, get sharp new needles for sewing the velcro strips on.
4. Adjust the Tension Appropriately
In some cases, you can experience difficulty because the tension settings in your sewing machine are not appropriate for sewing something like velcro strips. And you need to adjust the tension to get the best out of it.
Before you begin sewing, check to see if you set your machine tension to the normal or heavyweight fabric. Adjust it before you start if you didn’t set it to the heavyweight fabric. The tension settings make your stitches tighter, and the needle is less likely to cut when you have the correct tension settings on your machine.
Sew slowly and always use good-quality thread. Additionally, when you’re sewing velcro strips, always use shorter stitches. Shorter stitches stay in more than long stitches, which come out a lot, especially on material like that.
5. Test the Settings on Your Machine Before You Begin
There are few things worse than when you finish sewing and discover that you made a mistake. So, to avoid that, double-check all your settings and give a bit of a test sewing before you start, to be safe. Especially check the settings for the stitches, and always use a piece of discarded material to sew for a bit and make sure everything is in order before you start.
6. Get Very Thin Velcro to Make the Sewing Easier
Velcro is already very thick and sturdy, which is why it can damage thread, and needles and is so difficult to sew. When shopping for velcro, you don’t have to get the thickest you can find. Get one that isn’t too tight that it can break your sewing machine or your machine needles. Thin velcro is also good quality and can get the job done.
Also, you can use narrower velcro stripes to get it better aligned with the fabric. It’s easier to sew and even more comfortable for the person wearing it. And narrow velcro is just as good a fastener as thick velcro.
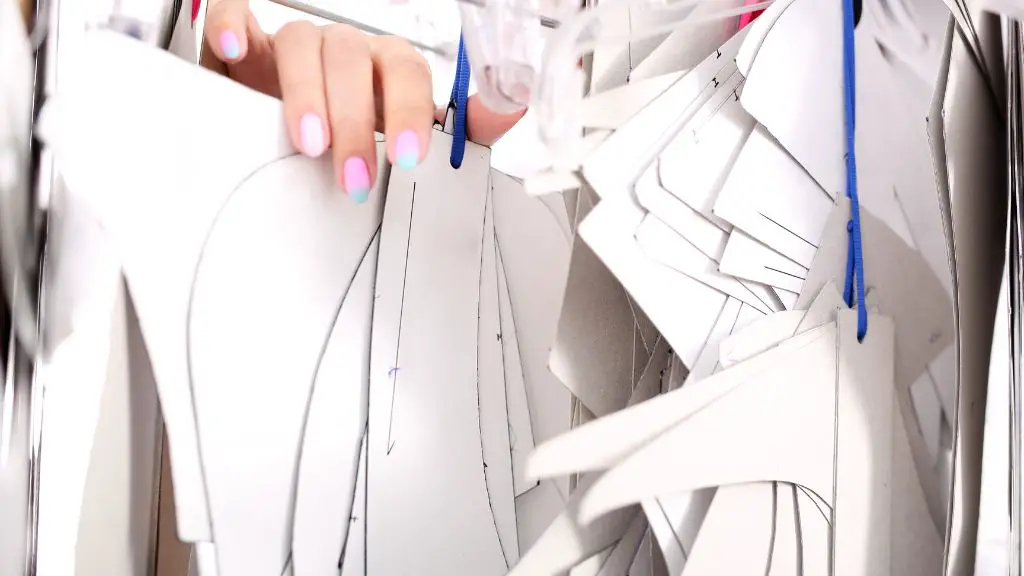
7. Place the Material Correctly
Before you begin to sew, make sure everything is in order. You always have to make sure that there is some overlap when you sew velcro onto a garment. Also, both sides of the tape must be aligned perfectly for the closure to work.
8. Hold the Stripes on the Fabric
Because of the nature of the material, it isn’t easy to use office pins to hold the velcro to the fabric to get a perfect alignment and good stitches. If you can’t use pins, you can try using some adhesive to make it easier. Apply the adhesive in the center of the velcro, place the fabric on it then sew around the edges.
Always test the adhesive so it doesn’t damage your velcro or the fabric. Make sure you make your stitches so the adhesive will not come in contact with your machine needle or damage it. Alternatively, you can use a tailor’s marker or chalk, whichever is more convenient for you.
9. Lubricate the Machine Needle
It’s important to keep your machine needle lubricated while you’re sewing. From time to time, you can use beeswax or natural lubricant to lubricate the sewing machine needle. Also, make sure you use polyester thread, which is much stronger and will hold the velcro to the fabric for a longer period. Also, don’t use an old machine needle to sew velcro. Always get a new one.
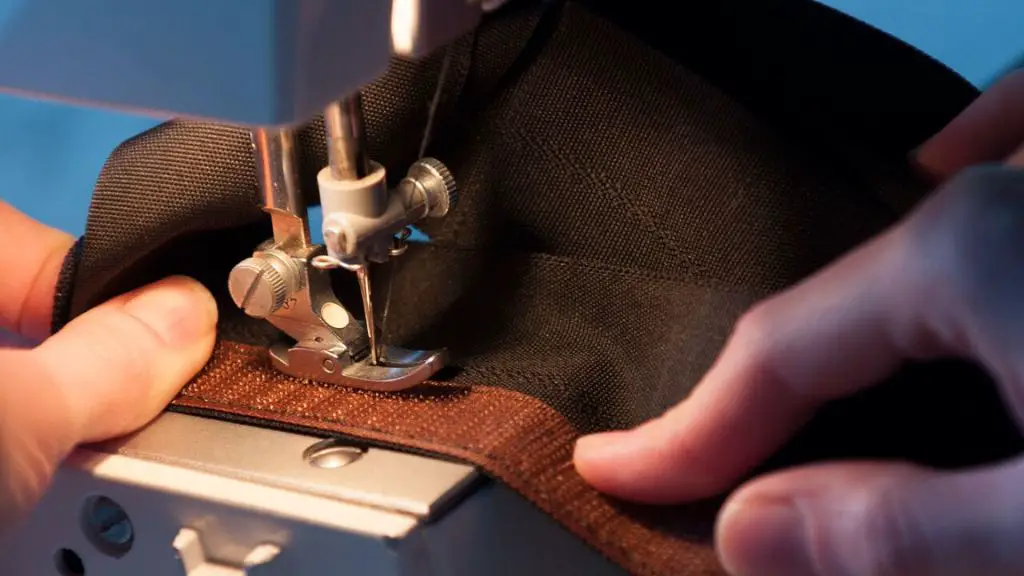
10. Stitch in Zig-Zag Fashion
Sewing velcro can be a hassle because it’s often difficult to keep the velcro in the required place without it moving all over the fabric. That can make it very easy to get the stitches in place and make them loose and long. One trick you can use to overcome this is to sew in a zig-zag style. That will make the velcro very flexible and keep it firmly in place.
If you don’t want the hassle of sewing zig-zagged, you can try blind-hemming around the edges of velcro. You can catch the fabric on the left-hand side of the fabric and stitch it on the right-hand side of the velcro and vice versa until you finish the sewing for one side of the velcro, and you’ll start with the other side.
If you use that style, you will have fewer skipped stitches, cut thread, long stitches, and stitches cut afterward. And it also makes sewing velcro onto fabric with a sewing machine a much easier undertaking, even for beginners.
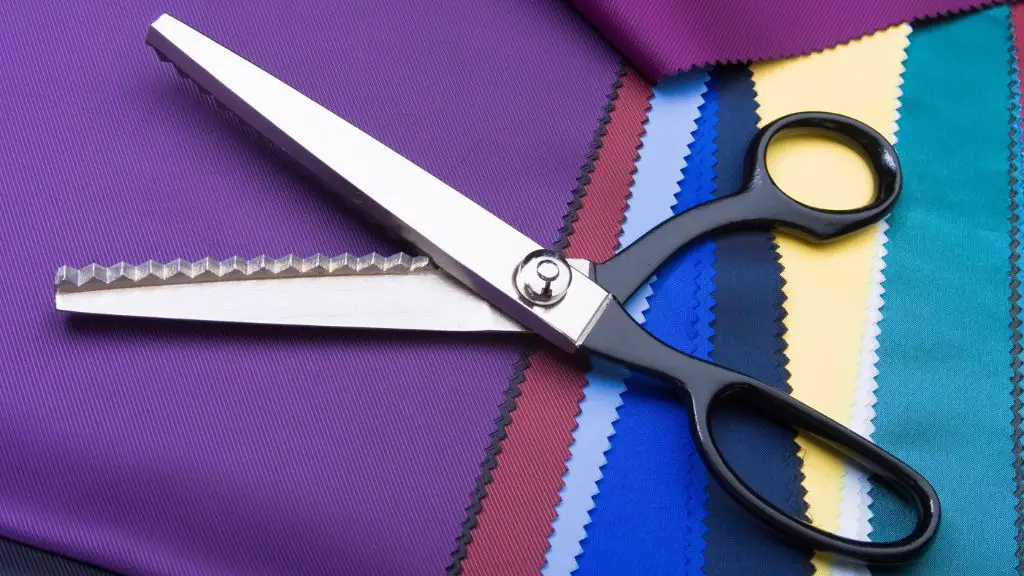
11. Trim Away the Excess
One thing you need to know when sewing velcro is that you don’t need to have a large portion of it on your dress. A very small piece of velcro always gets the job done. So, when you’re sewing, always sew around the sides, and if you have a lot of it, leave a lot of excesses so that when you finish, you can use a pair of scissors to trim the excess away.
It makes the finished product look very neat and appealing. Even if you don’t have a large piece of velcro, remember to trim it after sewing it. When you trim, you get a neater finish, and it’s also more comfortable to wear.
Conclusion
Sewing on velcro strips with a sewing machine is tricky, so people prefer to hand-stitch velcro. But, if you want to use a sewing machine to sew velcro strips, make sure you use a new sharp and sturdy needle. Use the best quality thread and adjust the tension on your sewing machine before you begin. Finally, sew in short stitches using zig-zag lines to make the stitches catch on securely.
Well, I hope you found this article helpful and that you’ve been able to sew on velcro strips with your sewing machine. The steps outlined here are all you need to complete this activity.
I love to sew and write! I have been doing both for many years and enjoy sharing my passion with others. I have written for both online and offline publications including Amazon and Medium, and I enjoy sewing clothes, quilts, and other items.
My writing style is engaging and lively, and I have a knack for delivering complex information in a way that is easy for everyone to follow.