When a zipper breaks on a pair of jeans, you’d likely throw them away. It’s easier, however, to replace the zipper rather than discard them. So, how to replace a zipper without a sewing machine, and is it worth your efforts?
You can replace a zipper with the following methods:
- Sewing a New Zipper by Hand
- Using a Slide-On Replacement Zipper
- Using Permanent Fabric Glue
The rest of the article will cover the various points you need to know about replacing zippers:
- Replacing an Entire Zipper is Better Practice
- The Types of Zippers Available
- The Strongest Type of Zipper
- Why Replacing is Better than Discarding Items
Replacing an Entire Zipper is Better Practice for Tricky Zippers
It seems wasteful to remove an entire zipper but can be better in the long term . For instance, if your zipper sticks constantly or has missing teeth, it will continue to cause issues.
It’s far more effective to remove the entire zipper and put a new one on. It’s not overly difficult but practical in the long term.
The Different Types of Zippers
You must know the basic types of zippers available so that you can select the right one for your garments.
A Closed-End Zipper
These zippers have a stopper on the bottom part. This is known as a non-separating zipper and a slider is used to open and close it. Typically, the closed-end zippers are seen on boots, jeans, and bags.
An Open-End Zipper
Also known as a separating zipper, an open-end zipper separates at the end. You put the non-slide side of the zipper into the slider to fasten it. These zippers are typically seen on coats, jackets, zip-up hoodies, and sweatshirts.
A Two-Way Zipper
These zippers are made slightly different from the traditional open or closed-end models. Two zips can be operated at the same time. There are head-to-head and separating two-way zippers which can be used for sportswear and sleeping bags.
Heavy-Duty Zippers Work Best on Clothing
Replacing a zipper is easy to do, even when you don’t have a sewing machine. It is, however, all about the zipper you replace the old one with. Typically, a heavy-duty zipper works best as it is strong and quite durable.
Of course, it depends on the type of zipper you’re replacing, and the materials used. For instance, a heavy-duty zipper works best for boots and jeans, but not so for backpacks. It’s about getting a zipper that’s not going to hamper your efforts.
Replacing a Zipper is Better Than Repairing It
It isn’t easy to repair a zip once it’s broken. In certain instances, minor repairs can prolong the lifespan, but it’s easier and more cost-effective in the long term to replace the entire zipper.
Source a Suitable Replacement Zipper
Zippers come in all colors and sizes. If you choose one completely different from the current zipper, it’ll stand out for all the wrong reasons. Instead, find a zipper that has the same style and color as the previous one. It makes a better match.
For instance, if you have a blue nylon zipper for a backpack, buy a replica or one close to it. When replacing denim zippers, ensure it is a YKK zip and the shade of the material matches the current zip. It’s a natural replacement that isn’t noticeable.
Correctly Measure the Zipper Before Replacing It
If the zipper is permanently stuck or has lost teeth, it needs to be replaced immediately. So, you need to carefully measure the zipper to find the appropriate size.
Lay the garment on a flat surface and measure from the inside with a ruler and include the entire length – including the cloth material. Measure the zipper two or three times to avoid making a mistake and add a few inches to your measurements. This prevents you from buying a zipper that’s too short; it can be trimmed later.
Take Note of How the Zipper is Positioned
Before you remove the old zipper, it’s essential to note how it was installed. For instance, the zipper material is hidden, so you want to mirror that, to keep it in line with the style. If it helps, take photos of both sides of the zipper, and copy how it was originally sewn in.
Remove the Stitches with a Seam Ripper
To remove the zipper, you need to cut away the stitches holding it in place. So, use a seam ripper and cut away the first few stitches. The threads should separate quite easily after the first cuts are made and should pop out with little trouble. Best of all, seam rippers don’t typically cause damage to the material.
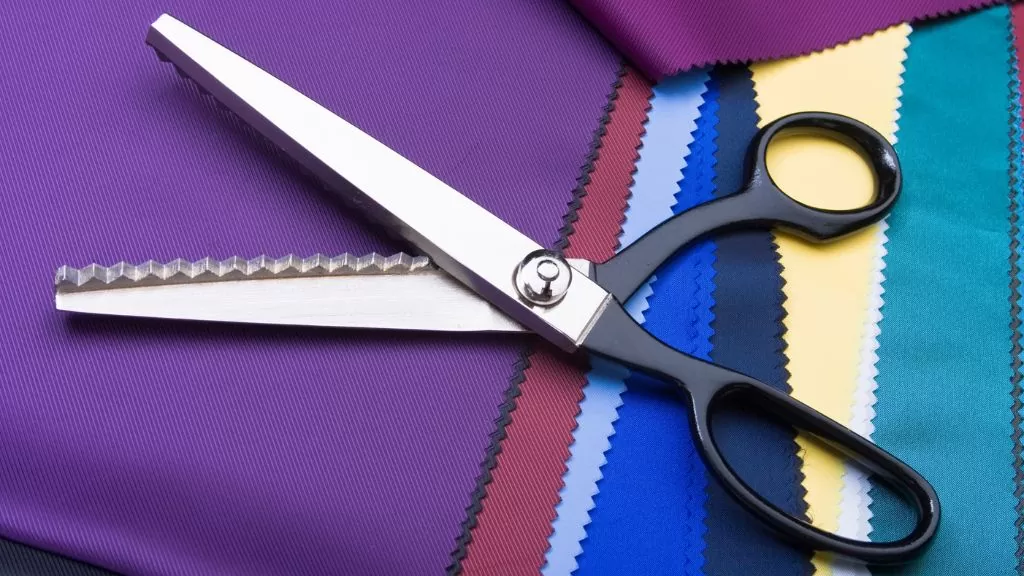
Of course, if you don’t have a seam ripper to hand, you could use a small pair of scissors. If you are, however, going to use scissors, be very careful. You don’t want to snip into the fabric or damage the garment, so use extra caution with scissors.
Gently Pull the Zipper to Loosen the Threads
Once you’ve begun to cut away the stitches, you need to carefully loosen the threads. Don’t yank on the zipper to remove it, gently pull at it as the threads become loose. It separates the zipper’s fabric from the garment and will be far easier to snip away the remaining threads.
Take your time with this part as you could easily tear the garment by pulling on the zipper too firmly or harshly. Be gentle and let the threads loosen before removing the zipper.
Discard the Threads
Stray threads are likely to be left behind when you remove the zipper, so it’s necessary to remove them. You don’t need to use scissors or seam rippers, they can be easily removed and discarded by hand.
Position the Zipper
Work from the inside as it’s much easier to position the zipper. Refer to the photos or notes you took earlier to ensure the zipper is in the correct position. Then secure it in place with pins or a zipper zoot.
Turn the garment around and see how it looks from the front. If adjustments need to be made, do so now. This will ensure the zip works effectively once it’s attached.
Trim the Zipper if It’s Too Long
As said above, it’s best to buy a longer zip just to be on the safe side. Fortunately, it’s incredibly easy to trim it down to size. So, measure out how much needs to be trimmed from the zipper and use a pen to mark the cut-off point.
Use a good pair of scissors and snip a straight line from the bottom part of the zipper. Gently remove any stray threads left behind also.
Choose the Appropriate Sewing Needle
Sewing by hand is easier than you think, but the right sewing needle must be used. This, however, depends on the type of fabric you’re working with.
Delicate Fabrics
Sewing needle sizes 11 and 12 tend to be best for thinner or delicate fabrics. They’re smaller in size and will make minimum impact on the garments also.
Light-to-Medium Fabrics
Sewing needle sizes 5, 6, 7, 8, 9, and 10 tend to work best for lighter or medium fabrics. They’re slightly bigger in diameter and can handle most everyday fabrics and zippers.
Medium-to-Heavy Set Fabrics
Sewing needle sizes 2, 3, and 4 tend to be most suited for tough or heavier fabrics. They’re best for thicker-set fabrics and zippers.
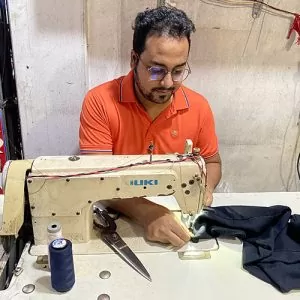
Sewing By Hand
You don’t have to use a sewing machine to replace a broken zipper, you can do it by hand. It’s easier than you think and only requires a little patience.
So, when the zipper is secured and lined up correctly, start by sewing a stitch along the edge. When you reach the bottom, go across and up. This secures the zipper on one side; you need to repeat the process on the other side also.
Replacing the Slider Only
Sometimes, you don’t need to remove the entire zipper to replace it. If the teeth aren’t broken, you only need to replace the slider and that’s easy enough to do.
- Buy Needle Nose Pliers and End Nippers
- Buy A New Zipper Stopper and Slider
- Remove the Old Stopper and Slider
- Attach the New Slider and Stopper
Use Permanent Fabric Glue
You probably don’t think fabric glue is sufficient to secure a zipper, but that’s not quite true. If used correctly, fabric glue can replace an old zipper.
You remove the zipper as previously stated, then line the new one up. Once you pin the zipper into place and check it, you glue it. Of course, this method depends on the type of item you’re attaching the zipper to.
Remove the Loose Threads
Once the new zipper is in place, you’re likely to have excess threads. Trim these to get a clean finish. It’ll also make it less obvious to spot the replacement.
Final Thoughts
With a little know-how, you can replace a zipper without the need for a sewing machine. It doesn’t take much effort and can be cost-effective too.
So, to recap, here are the ways to replace a zipper:
- Sew a new zipper by hand.
- Replace the slider only.
- Use fabric glue to attach a new zipper.
I love to sew and write! I have been doing both for many years and enjoy sharing my passion with others. I have written for both online and offline publications including Amazon and Medium, and I enjoy sewing clothes, quilts, and other items.
My writing style is engaging and lively, and I have a knack for delivering complex information in a way that is easy for everyone to follow.