As a tailor or seamstress, your sewing machine is very important to you, and you must ensure all the parts are in good working condition to maximize its use. Now, if your machine belt is faulty, this will be a major issue for you as you will be unable to make use of your machine. Therefore, this article will cover how to make a sewing machine belt at home to save you headaches.
Making the machine belt home isn’t a major issue if you follow this guide’s instructions. An added advantage to doing it yourself is that it is much cheaper than buying a new one from the market, plus you also get to know more about your machine in the process.
Here are the steps required to make your machine belt:
- Understanding the Types of Belts for Sewing Machines
- The Model and Make of the Sewing Machine.
- Get the Accurate Size of Your Belt.
- What Tools will You Need?
- The Process of Making it.
- Time-Saving Techniques You Can Use While Making the Belt.
Six Steps For Making Sewing Machine Belt at Home
Making a sewing machine belt is a pretty simpe do-it-yourself process. However, before venturing into it, you’d have to understand the type of belt you need. Also, the model and design of your sewing machine is something you should put into consideration. Well, here is the entire process:
1. Understanding the Types of Belts for Sewing Machines
Understanding the type of sewing machine belt is important in making a belt. That’s because you must understand the type of belt you need for your sewing machine, as different machines use different belts. Generally, there are four different kinds of sewing machine belts available for any and every kind of sewing machine.
The types of sewing machine belts we have are:
- V-belt
- Lug belt
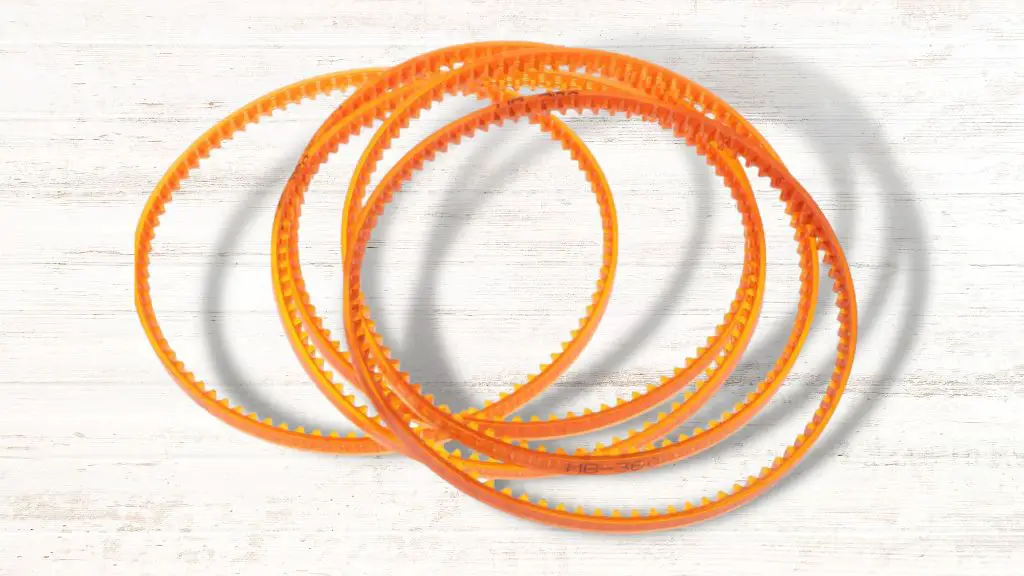
- Geared belt
- Round belt
V-Belt
Some sewing machine types use a v-belt. You can recognize a machine with a v-belt by how the belt looks. A v-belt looks like a lug belt but has no teeth, plus the inside of a V belt is shaped like the letter “v.”
Lug Belt
For you to know if your sewing machine uses a lug belt, you must know that a lug belt looks like a geared belt because of its teeth. However, it differs from a geared belt because these “teeth” don’t fit into grooves on the motor pulley.
Lug belt teeth are tapered and work like the grooves on your tires. It is by far the most common type of belt for sewing machines. However, if you cannot get a v-belt for your sewing machine, you can use a lug belt.
Geared Belt
Like a lug belt, a geared belt has “teeth,” but these “teeth” fit into grooves on the motor pulley. If your sewing machine is the type that uses a geared belt, know that you can’t substitute any other type of belt in it apart from the one designed by your machine’s manufacturer specifically for your machine model.
Round Belt
A round belt is also called a stretch belt because it stretches to fit a certain range of sizes. You can use this belt if you cannot get a v-belt or a lug belt, and it will fit even if you don’t get the size right because it stretches to fit. They grip better and help you stay on your feet, so you slip less.
Now, you can identify the belt that your sewing machine uses, which will help you determine if you can go ahead with a homemade belt or if you must get it from the manufacturer. For instance, if your machine uses a geared belt, you may be unable to use a homemade belt.
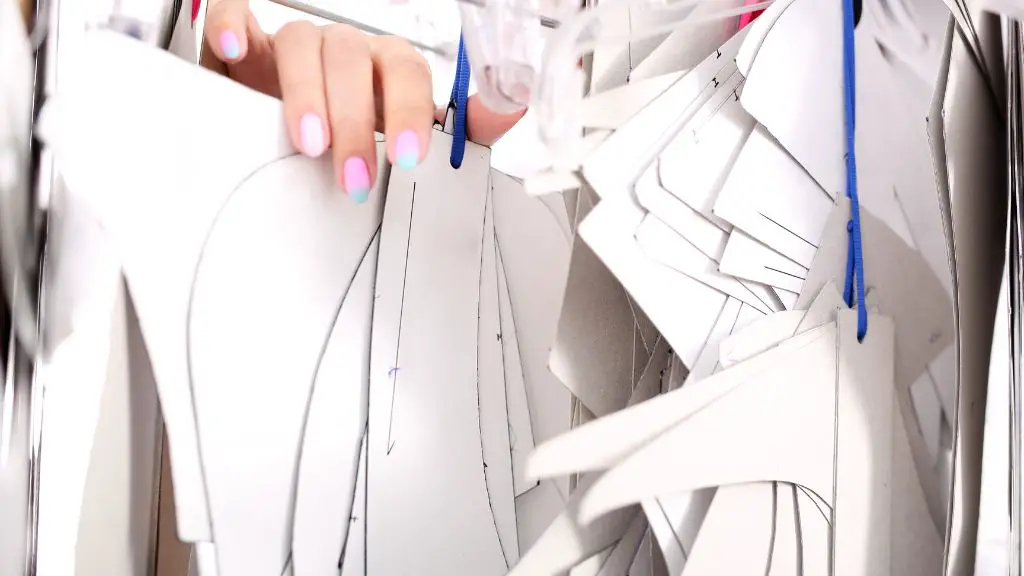
2. Model and Make of the Sewing Machine
Before making your sewing machine belt at home, you need to know the make and model of your machine. That will let you know the type of belt best suited for it, be it a v-belt, geared, lug, or round belt.
If your belt is visible, then you might not need this step. You can see the belt and know which suits your machine, but if it isn’t visible, you can check for the model of your sewing machine on Google and know the one your machine uses.
3. Get the Accurate Size of Your Belt
Getting the right size for your belt is important. You do not want to make a belt, and you won’t be able to use it because you didn’t get the correct measurement. To make a new belt, get the measurements of the previous one to serve as a benchmark for the new one.
To get the measurement, if your belt is outside, remove it; if it isn’t, remove the screws and ensure you get the belt out. Once you’ve freed the belt, cut your old belt and lay it flat on a ruler. Then, measure the belt from one end to the other to get the size.
4. Parts and Tools
Before you get started, you’ll need a few tools and materials;
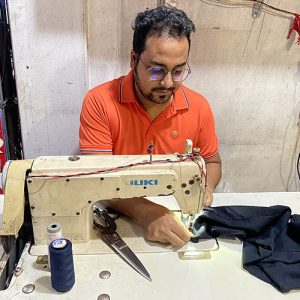
- A sewing machine – You will need a sewing machine to sew the materials needed to make the belt.
- Thread – You will need the thread to make the stitch in the materials.
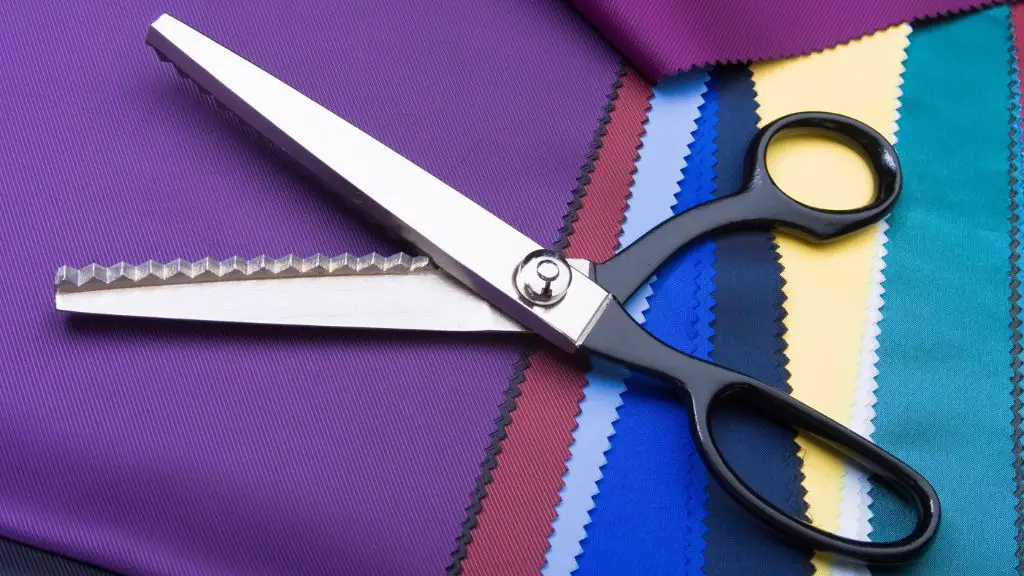
- Scissors – You will use the scissors to cut off excess materials.
- Fabric – The material you will use for the belt.
- Belt – If you use a pre-made belt or the belt you will make.
5. The Process of Making It: 12 Methods for You to Try!
There are several ways to make a home sewing machine belt, such as;
- Use fabric.
- Use of rubber
- Use leather
- Use an elastic belt casing.
- Use chord or twine
- Use a chain belt.
- Use sewn-on elastic.
- Use of unfinished pre-made belt
- Make a grommet belt.
- Buttonhole-making.
- Add flaps.
- Use a ribbon.
Use Fabric
You can use fabric to create a sewing machine belt. First, cut a fabric strip double your machine’s circumference, approximately two inches wide. Then fold the fabric in half lengthwise and sew the long edges with a sewing machine or by hand.
Turn the tube of fabric right side out and slip it over your sewing machine. Finally, tuck your fabric tube around your sewing machine and sew it on either side of your machine.
Use of Rubber
You can also use rubber to make a sewing machine belt. First, cut the rubber into long strips about two inches wide and four inches tall. Then, use scissors or another sharp tool to cut one end at approximately 30 degrees on each strip.
Cut slits at regular intervals along each strip; depending on your machine’s specifications, you should have anywhere from four to ten. Use a drill to make small holes in each slit, about 1⁄4 inch apart. Thread each rubber strip through its corresponding hole and tie a knot on either side of it.
You should have one rubber loop on each side of your sewing machine belt. Using scissors, trim excess rubber from both ends of your belt. It would be best if you now had a long, flat belt with loops on either side that will fit your sewing machine’s pulley and hold it in place during use.
You can test your new belt by threading it through your sewing machine and ensuring everything runs smoothly. If the slits are too small, widen them with a drill bit and trim off excess rubber as needed. It should take just a few minutes, so you shouldn’t be discouraged if you need to make some alterations.
Use Leather
You can also use leather to make your sewing machine belt. You do not need to get new leather before making a belt; you can use your bag or shoe leather. You only need to cut the leather pieces and use them as a cord or twine.
Use an Elastic Belt Casing
It is the simplest way to make a belt. You will need a piece of elastic twice your waist size, plus one inch. Cut a fabric casing strip 3 inches wide and the same length as the adjustable plus one inch. Stretch the elastic as you stitch its ends into the casing.
Use Cord or Twine
If you want to use a cord or twine for your sewing machine belt, you can purchase a strong cord or twine length and then tie it around the base of the machine.
Use a Chain Belt
Making a sewing machine belt this way is more difficult. First, you’ll need a piece of chain and a buckle for a belt. Next, cut a strip of casing that is 1 inch wider than the belt. Finally, sew the ends of the belt together, put them into the casing, and stretch the belt as you sew.
Use Sew-on Elastic
Attach two rows of sew-on velcro to the belt’s top edge on the wrong side. Cut two pieces of elastic four inches shorter than the waist measurement plus one inch. Stitch the ends together, then attach them to the belt’s right side so they’re enclosed when folded. Stitch to fix.
Use of Unfinished Pre-made Belt
You can also use a pre-made belt for your sewing machine. But if you want to do it yourself, you can also use an unfinished pre-made belt if you have access to it. Then, you design the belt as you wish.
Make a Grommet Belt
Making a grommet belt yourself isn’t easy because you’ll need some unique materials when making this belt. You will need a piece of grommet wire, grommets, and a belt buckle for this belt. First, cut a strip of casing one inch wider than the belt. Then, sew the ends of the belt together, put them in the casing, and stretch them as you sew.
Buttonhole-Making
If you want to go with this option of making your belt, know that you can do it with a pre-made belt or fabric; it is more decorative. First, cut a strip of casing one inch wider than the belt. Then, put the ends of the belt into the casing and stretch it as you sew. Leave a small hole, and then cut out the middle of the hole where you want to put the button.
Add Flaps
You can add flaps to your homemade belt within or outside the casing. First, cut two rectangles one inch wider than the belt and two inches longer than the waist. Next, cut two rectangles one inch wider than the belt and two inches longer than the waist.
Then, fold it in half so the right sides are together, and hem the top and bottom. Finally, sew around the edge, leaving a 6-inch gap for turning—flip, press, and topstitch.
Use a Ribbon
If you have a ribbon, this is one of the easiest ways to make a sewing machine belt at home. First, ensure you cut the ribbon correctly, i.e., the right length and width. Next, stitch the ribbon ends together and ensure you stretch the ribbon while sewing it into the casing.
6. Time-saving Techniques You Can Use While Making the Belt
Now that you can make a sewing machine belt in the comfort of your home. Here are some tips to make the whole process faster and save time while making your sewing machine belt.
- Make sure your belt has an open end on one side, so you can slide it onto your machine and measure where to cut without damaging it. Then, remove the old belt from your sewing machine and indicate where to cut it using chalk or a non-permanent marker.
- When ordering replacement belts, be aware of what style of machine you have so that you know whether they come pre-formed or not.
- If your belt doesn’t have an open end, you’ll need to create one. Try using a utility knife (or another suitable cutting instrument) and carefully cut off about half an inch from one side of your belt.
- When measuring your new belt, make sure you add in any size changes you made by cutting off part of it from step 2 above so that it will be slightly longer than what you measured when trying on your old belt.
- Use a drill to make small holes in your belt so that you can pass your thread through while sewing it back on your machine. Place one end of your thread through one of these small holes and pull it out on the other side.
Conclusion
Making a sewing machine belt yourself from the comfort of your home is achievable. You do not need to always shop for a replacement once your current belt is frayed or worn out; you can make one yourself. The good thing about making your belt is that it’s cheaper than buying a new one, and you can make as much as you want and design it as you wish.
I hope you can make your sewing machine belt yourself using one of the multiple ways discussed in this article. Then, follow the instructions, and you should have a new sewing machine belt.
I love to sew and write! I have been doing both for many years and enjoy sharing my passion with others. I have written for both online and offline publications including Amazon and Medium, and I enjoy sewing clothes, quilts, and other items.
My writing style is engaging and lively, and I have a knack for delivering complex information in a way that is easy for everyone to follow.