For every newbie sewing enthusiast, one question is very relevant. How difficult is learning how to use sewing machines? After all, knowledge of how to use them is very crucial to the sewing process.
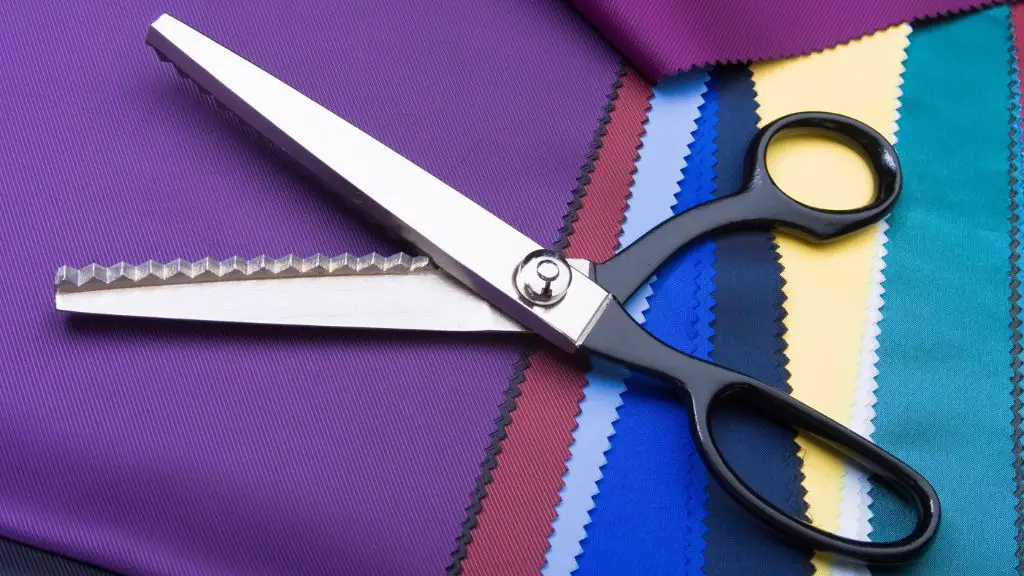
After the first few months of learning how to use, sewing machines are not hard to use. The hardest part of sewing is actually how to cut fabrics and learn the fundamentals of sewing itself.
This article looks at how to familiarize yourself with the sewing machine and we will give you a guide to beginning using a sewing machine. Let’s go!
Are Sewing Machines Hard To Use?
It is not hard to learn how to use a sewing machine for the first time. While one might find it a tad difficult to put together the pieces in a manner that will eventually lead to the final garment, using the machine itself is not hard.
In the past when all sewing machines were driven by foot pedals, it was harder to learn how to coordinate the feet to drive the machine. This is because of the need to be aware of moving and guiding the fabric while also ensuring that the machine keeps running.
Learn How To Use A Sewing Machine
The simple truth is that you can not learn how to use a sewing machine without having one to practice with. However, knowledge of some theoretical principles can always be
Every sewing machine is fundamentally different from the last. Because of this, it is not easy to have general principles around their use. Still, we have managed to distill principles that are common to every conceivable sewing machine. At least, those that exist now!
Learn the parts of the sewing machine
To begin with, You have to know and understand the parts of the machine. Also, you have to know the functions of how to work each. Some of these parts are;
Power switch:
Obviously, your sewing machine will have a power switch you can use to turn it on and off. It has a different location on different machines and you should locate it on yours.
Spool pin:
This is a plastic or metal pin that sticks out at the top of the machine. You’ll use it to hold the spool of thread for threading.
Thread guide:
This guide directs the thread on its journey from the spool to the bobbin winder. It’s a metal piece you’ll find sticking up at the top of the Sewing machine.
Bobbin winder:
This is another pin that can be found at the top of the sewing machine, often next to the handwheel. It works together with the spool of thread for winding threading onto the bobbin.
Buttons and knobs:
In the frontal area of the machine, you will find a few buttons and knobs. Some are used for setting stitch types and length. For some machines, the stitch types and how you can get them are displayed on the body. Check your machine’s manual for the purpose of each button and knob.
Foot pedal:
This goes on the floor where your foot can comfortably reach it. It is used to control the speed
Handwheel:
At the side of the machine is a little wheel that turns. Also known as the flywheel, it controls the up and down movement of the needle.
Reverse stitch lever:
This is the lever you will call upon whenever you need to stitch in reverse.
Presser foot:
The metal part that holds the needle is called the presser foot. It features a lever that you will use to lower and raise it when needed. You will do this by using your foot to apply pressure on the presser. The amount of pressure you apply will determine the speed the machine will go at.
Tension dial:
This is a small numbered wheel to be found near the take-up lever. You will use it to control the tension of the thread while sewing so it will neither be too tight nor too loose.
Thread take-up lever:
This is a lever (often with two grooves cut in it) located on the front left side of the sewing machine.
These are the main parts to be aware of. Some more advanced sewing machines have their settings on a touchscreen rather than the knobs and buttons. This however will be quite easy to discover, so there is no need to discuss it here. When you have familiar with the machine, it is time to take baby steps toward the first stitch.
Threading
One of the first things to learn in sewing is how to thread the machine. Threading involves both the upper part of the machine and the bobbin.
Upper Threading
To do upper threading, follow the steps below:
- Put the spool of thread on a spindle at the top of the machine. Use a spool holder to hold it to prevent the thread from ever flying off.
- Check the guide for the directions on the machine to thread. Generally, the general principle is “Spool pin to tension to take-up lever to needle”.
- Follow the instructions on your machine before passing the thread through the needle.
Bobbin threading
- Place a bobbin spool on the bobbin winder at the top of the machine.
- Following your machine’s guide, wrap the thread around the bobbing guide to the bobbin itself.
- Turn on the bobbin winder and wait for it to stop when the bobbin is full.
- Take off the bobbin cover and place the bobbin in its slot. This slot differs by machine so you should consult your guide to be sure. Your manual will tell you which direction your bobbin spool should turn so you should place it in this direction.
- Place the bobbin down into the little hole made for it and pull the thread through the little slot to get it secured in place.
When this is done, the next step is to connect both the bobbin and upper threads.
Get out both threads
After you do upper and bobbin threading, the next step is to bring out the ends of both threads. Turn the flywheel or hand wheel towards you. This will allow the upper thread to travel to the bobbin. Pull both threads to the side and cover the bobbin slot.
After this is done, you can start stitching.
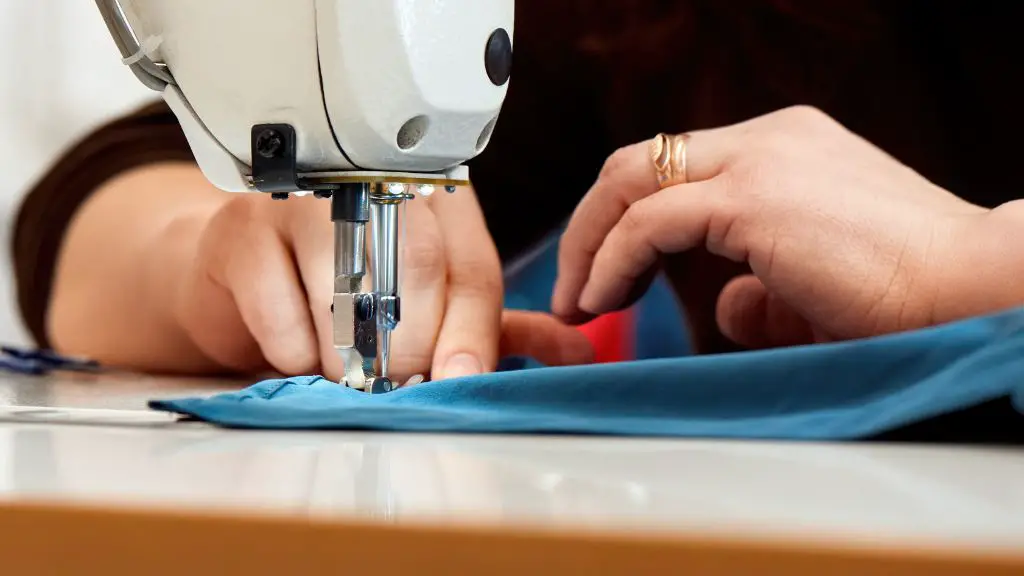
Stitching
After the threading is done, it is now time to start stitching itself. It is also done in certain steps below:
Set the stitch settings:
The first part of stitching is that you have to set the type of stitch and the stitch length you are going for. As a beginner, it is best to use a medium stitch length and a straight stitch. The way to do this will be in the user’s manual of your machine but it is usually by turning the knob. Doing the stitch settings may move the needle, so you should do it with the needle raised.
Place the fabric under the needle:
You should practice with scrap material. If you can get one, choose a simple and woven material rather than a knit one as the former will be easier for a first sewing experience.
Lower the presser foot:
When the fabric is properly in place, look for the lever behind or at the side of the needle assembly. Use this lever to lower the presser foot. You will notice that the machine has a pretty firm grip on the fabric. Do not apply excessive force to pull the fabric as this can damage the needle.
Hold both ends of the thread:
The first few stitches require you to hold the loose ends of the thread to prevent them from retreating into the fabric. After you have stitched a bit, you can then release it and use your hands to guide the fabric and the machine.
Press the foot Pedal:
To start the machine, press the foot Pedal. Start gently and then increase the pressure as you continue. As You stitch, the machine will advance the fabric away from you. You can use your hands to steer the fabric to sew in a straight or curved line. Practice straight stitching before moving to curved
Try reverse stitching:
Use the reverse stitch button to reverse the direction of stitching. Reverse-stitch on the stitches you’ve already made to finish the seam and prevent the thread from pulling out.
Cut the Thread:
Use the handwheel to raise the needle and cut the thread.
These are the steps you have to follow for your first few stitchings. However, this is highly summarized so you might need to check out some tutorial videos while practicing.
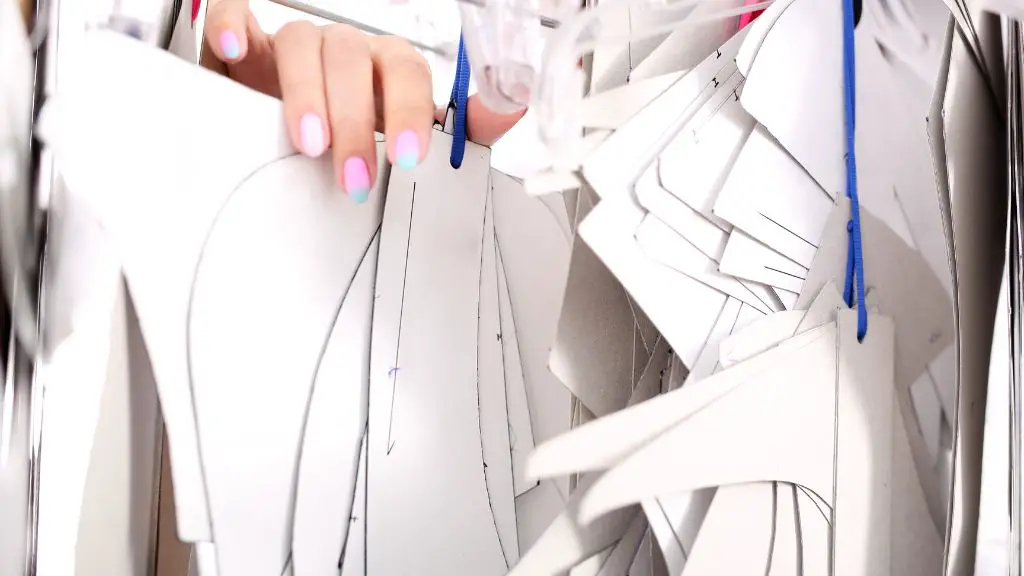
Take up a little project
You can’t learn how to sew in a short time without practicing often. When you’ve grasped the use of small pieces of fabric to learn, it is time to go for bigger fish. Find a little project to take on and you can progressively increase the difficulty of the project as you move along.
Some of the projects you can start with include sewing berets, pouches, utensil holders, pocket bags, etc. When you have mastered this, you can move along to things like shirt extenders and doll clothes. The next step? You can see your wear!
Conclusion
It is not hard to use sewing machines. For the average beginner, it is normal for it to seem daunting. However, it is not that hard. When you understand how the machine works and have one to practice with, you will be able to grasp the workings of the machine after a few months. With the help of this piece and maybe tutorial videos, you’ll be able to take steps towards using your sewing machine efficiently.
I love to sew and write! I have been doing both for many years and enjoy sharing my passion with others. I have written for both online and offline publications including Amazon and Medium, and I enjoy sewing clothes, quilts, and other items.
My writing style is engaging and lively, and I have a knack for delivering complex information in a way that is easy for everyone to follow.